Make Your Webcam Look Slightly More Professional (mainly on Linux)
(alternate title: Overcomplicating Things That Aren’t That Important)
Being annoyed with Zoom’s lack of smart-background blurring on Linux led me down a rabbit-hole out of which I have only just emerged, covered in who-knows-what and left with a sense that I should probably have left the poor rabbits alone.
Do you want to make this questionably improved transformation to your cheap webcam:
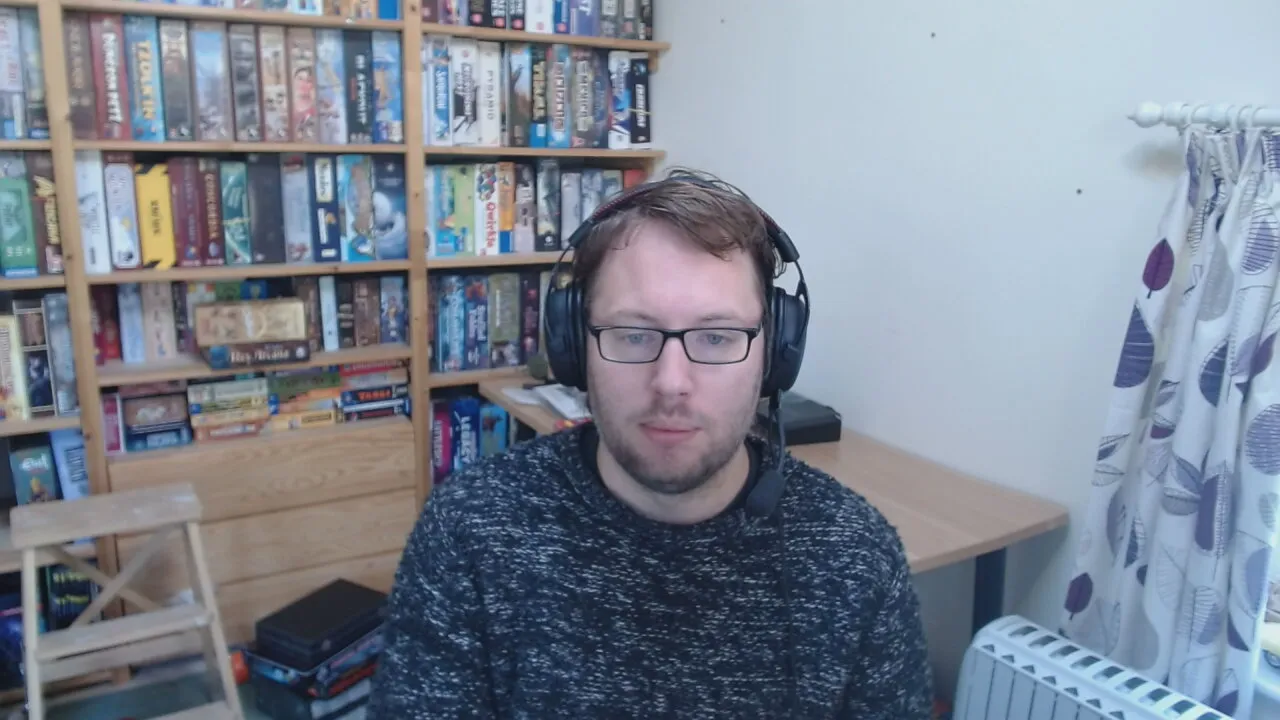
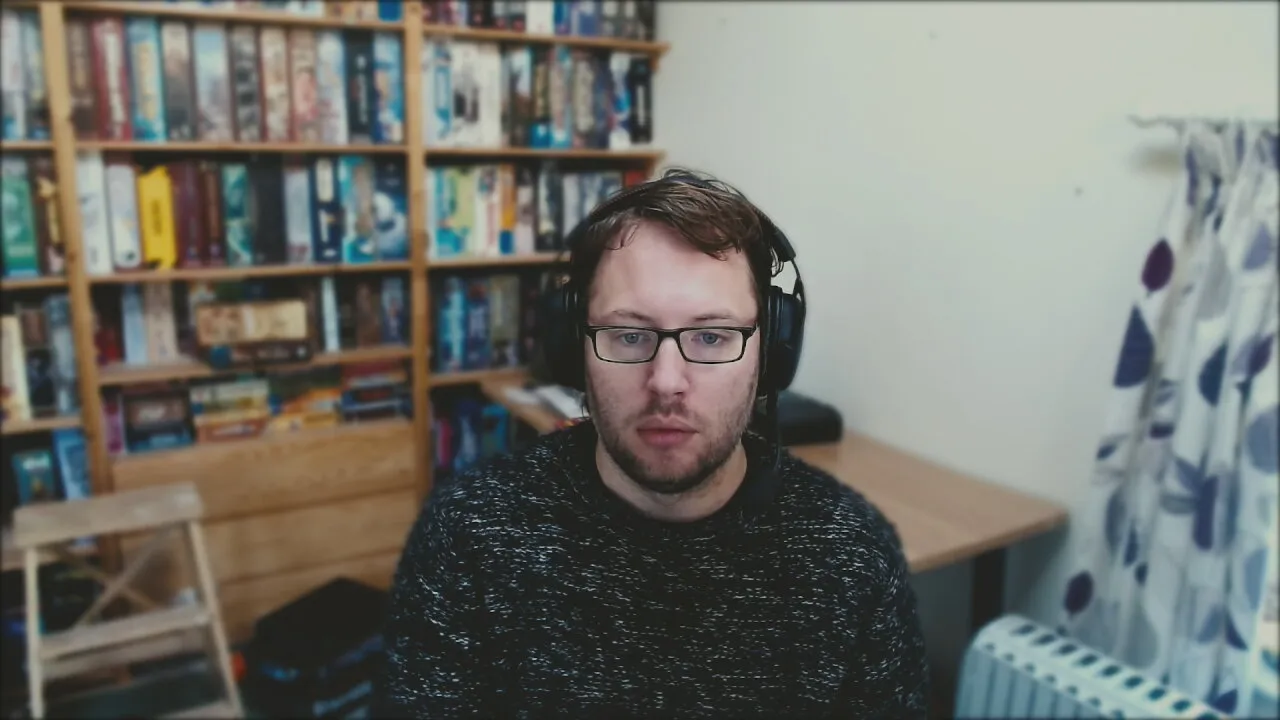
With nothing but a browser, broadcasting software, a reasonable understanding of launch flags, a high tolerance for frustration and a decent chunk of your valuable time? Well have I got the blog post for you!
Blurring it Out
First up, this process does require running Open Broadcaster Software (OBS). This will give us the tools we need to import all sorts of sources (like your webcam), apply filters to them and create a new ‘Virtual’ webcam with those filters applied.
The most complicated part of this process is getting blurring working. There are plenty of options out there (such as OBS Background Removal - if you fancy compiling your own OBS plugin.), but none were quite as easy to use as I’d like.
For a while, I used the very useful VDO.ninja, which lets you broadcast your camera from one browser instance to any other browser, applying filters such as background removal on the way.
By opening the ‘viewing’ URL using OBS’ embedded browser source, you can pull together multiple video streams, ideal for composing group calls inside OBS.
Where this comes in handy in this case is that you can use this for a single stream, but it does mean leaving the ‘server’ browser tab open and active.
Taking heavy inspiration from VDO.ninja, I scraped together a single-page-application, Lazy Webcam Blur which uses some of the same methods of blurring (BodyPix + TensorflowJS) as VDO.ninja, but doesn’t do anything else - no UI and no interactions needed.
You can find a hosted version of Lazy Webcam Blur over at https://lazy-webcam-blur.pages.dev/
This page can be added as a ‘Browser’ source in OBS to bring in a pre-blurred webcam video stream.
- In OBS, under Sources, click the ’+’ and select ‘Browser’
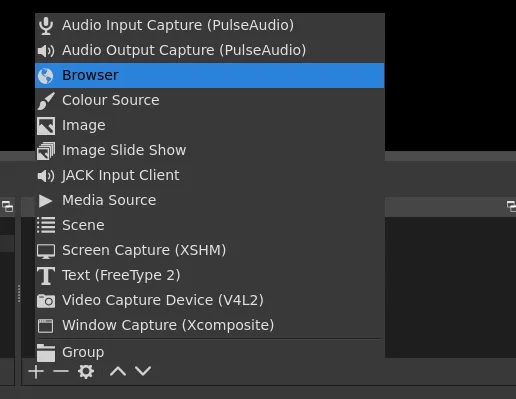
- Give your source a useful name and click OK.
- Enter the
https://lazy-webcam-blur.pages.devin the URL and set your target resolution - I use 1280x720.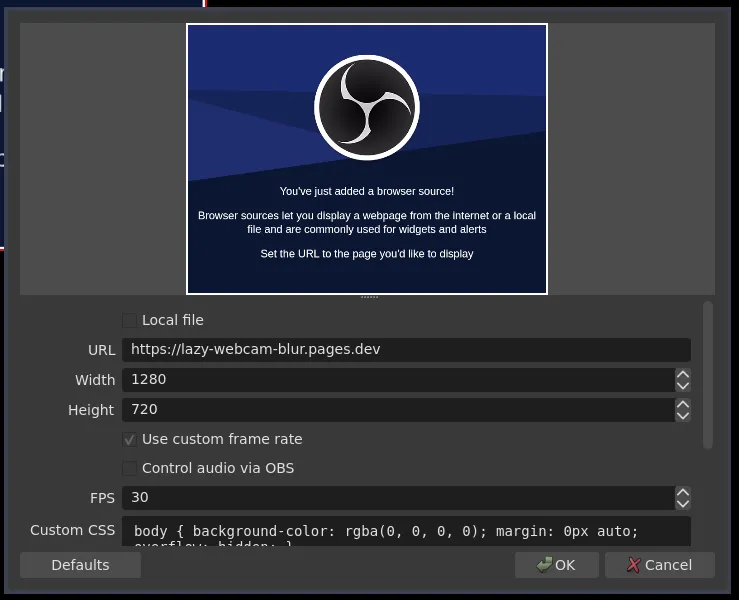
- After adding the source, stretch it to fill the scene.
Unfortunately, out of the box, this probably won’t work. The embedded browser is waiting for you to confirm permissions to use your webcam, but there’s no UI to let you do that.
To solve this, we’re going to need to add the --use-fake-ui-for-media-stream flag when launching OBS. How this happens will depend on your distribution/how you’ve installed OBS, but you have two main options:
- Launch OBS manually with the flag appended,
obs-studio --use-fake-ui-for-media-stream - Update/make a copy of the
.desktopfile used to launch OBS and append the flag to theExecvalue.
Creating a new camera, from your camera
Now your slightly-nicer-looking-camera is added as a source in OBS, we can let other applications use it using OBS’ built-in ‘Virtual Camera’.
As long as you’re using a recent release of OBS, this should be a click of a button:
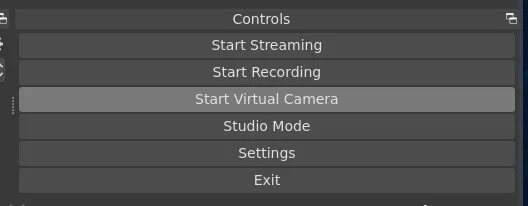
You’ll then be able to select “OBS Virtual Camera” as a webcam in your video conferencing tool-of-choice to get whatever OBS is outputting.
Improving the Colours
OBS gives us tools to do all sorts of post-processing on sources, but the one I’ve found most useful for improving webcam video is the “Apply LUT” filter. A LUT is a colour-mapping preset generally used for colour correction - but in this case we’re going to take the non-scientific approach of ‘just making it look nice’.
- Grab some LUT files - I use this pack from OBS user Jordan Wages.
- Right click your browser source in OBS and select ‘Filters’.
- Under ‘Effect Filters’, click the ’+’ symbol and select ‘Apply LUT’.
- Browse to where you have downloaded/extracted your LUT files and experiment with them to find the one you like the best. I like
webcam_preset_3.pngfrom Jordan’s pack.
It is Done
Success! A slightly improved webcam image with far too much effort, relying on an entire browser engine running in the background.
Yes, it’s not perfect - I’d love to see simpler tools for this process pop up in the future - do give me a shout if you come across anything!